The order form asks one small question, die-cut or kiss-cut, and the answer decides how your stickers arrive, how easily people peel them and how well they survive a mailer or a giveaway bowl. Die-cut vs kiss-cut stickers comes down to how deep the blade goes, and once you know what each cut does, picking the right one for your project takes about a minute.
Below we explain the difference in plain terms, compare how each style works for logo giveaways, packaging and sticker sheets, and show how to set up artwork so the cut lands where you expect. If you already know what you need, our sticker and label printing page covers the formats and finishes we print in Markham.
The Difference Between Kiss Cut and Die Cut
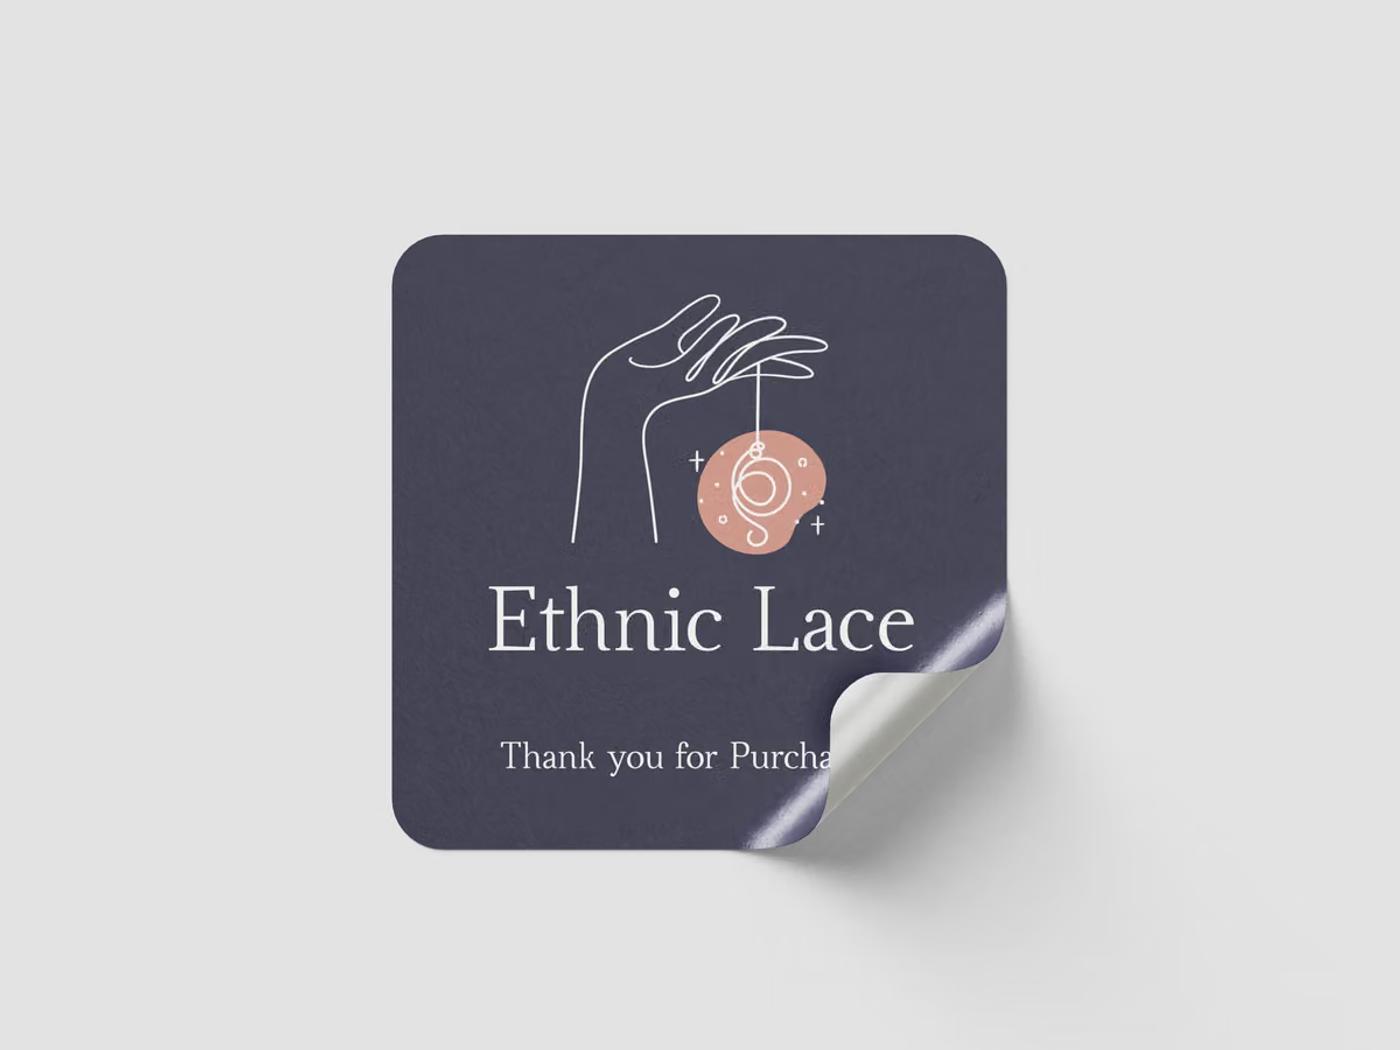
A die-cut sticker is cut all the way through the sticker material and its paper backing, so each one comes out as a loose piece in the shape of the design. A kiss-cut sticker is cut through the sticker layer only, so the design peels out of a larger backing that stays in one piece, usually a square, a rectangle or a full sheet. Once applied, the two look exactly the same.
What Are Die-Cut Stickers?
Die-cut stickers are cut through every layer: the printed face, the adhesive and the backing paper, which printers call the liner. The backing ends up the same shape as the sticker, often with a thin white border around the artwork. The name comes from the shaped steel blade, or die, traditionally used to punch the shape out. Many shops now use a digital cutter that follows a cut line in your file, but the name stuck. You may also see them called contour-cut stickers.
What Are Kiss-Cut Stickers?
Kiss-cut stickers are cut through the printed face and the adhesive, and the blade stops at the liner. The design sits inside a larger piece of backing that stays whole, whether that is a small square around one logo or a full sheet holding a dozen small designs. Peel the sticker away and it has the same custom shape a die-cut version would have.
One detail most people never notice: a single kiss-cut sticker is actually cut twice. There is a kiss cut around the design, then a full cut through every layer around the square or rectangle of backing. Sticker sheets work the same way, with the outer edge of the sheet cut all the way through.
Kiss Cut vs Die Cut at a Glance
How Each Sticker Cut Peels, Travels and Holds Up
The two styles only really differ before the sticker goes on. That short stretch, from our shop to your customer's hands, is where the choice matters.
Peeling Kiss-Cut and Die-Cut Stickers
With a kiss cut, there is a margin of liner around the design, so you can bend the backing and lift an edge with a fingernail. Die-cut stickers can take a moment longer to start, especially small ones, because the sticker and backing edges line up exactly and there is nothing to grab. That hardly matters for one sticker, but it adds up when staff are sealing two hundred takeout bags.
Handing Out Die-Cut Stickers at Events and Counters
A die-cut sticker looks finished the moment someone picks it up. It shows off the shape of your logo, slips easily into a tote bag or an order, and feels like a small piece of merchandise. That is why die-cut is the usual choice for logo stickers, giveaways and anything sold or handed out one at a time.
Protecting Fine Detail With Kiss-Cut Backing
Thin lines, sharp points and small text are where kiss-cut earns its keep. The surrounding backing stops delicate edges from lifting or catching while stickers sit in a box or travel in an envelope. Kiss-cut also handles very small pieces, such as tiny icons or letters, that would be awkward to handle as individual die-cut stickers. For a die-cut version of detailed artwork, a smooth border around the design usually solves the problem.
Which Sticker Cut Suits Your Business?
Start with how the sticker will be used and who will peel it. Here is how that plays out for common business uses.
Logo Stickers and Trade Show Giveaways
Choose die-cut. Loose logo stickers are easy to put in a bowl at a booth, add to online orders or leave at a front counter, and the custom shape makes the brand instantly recognizable on a laptop, water bottle or notebook.
Packaging Seals and Product Stickers
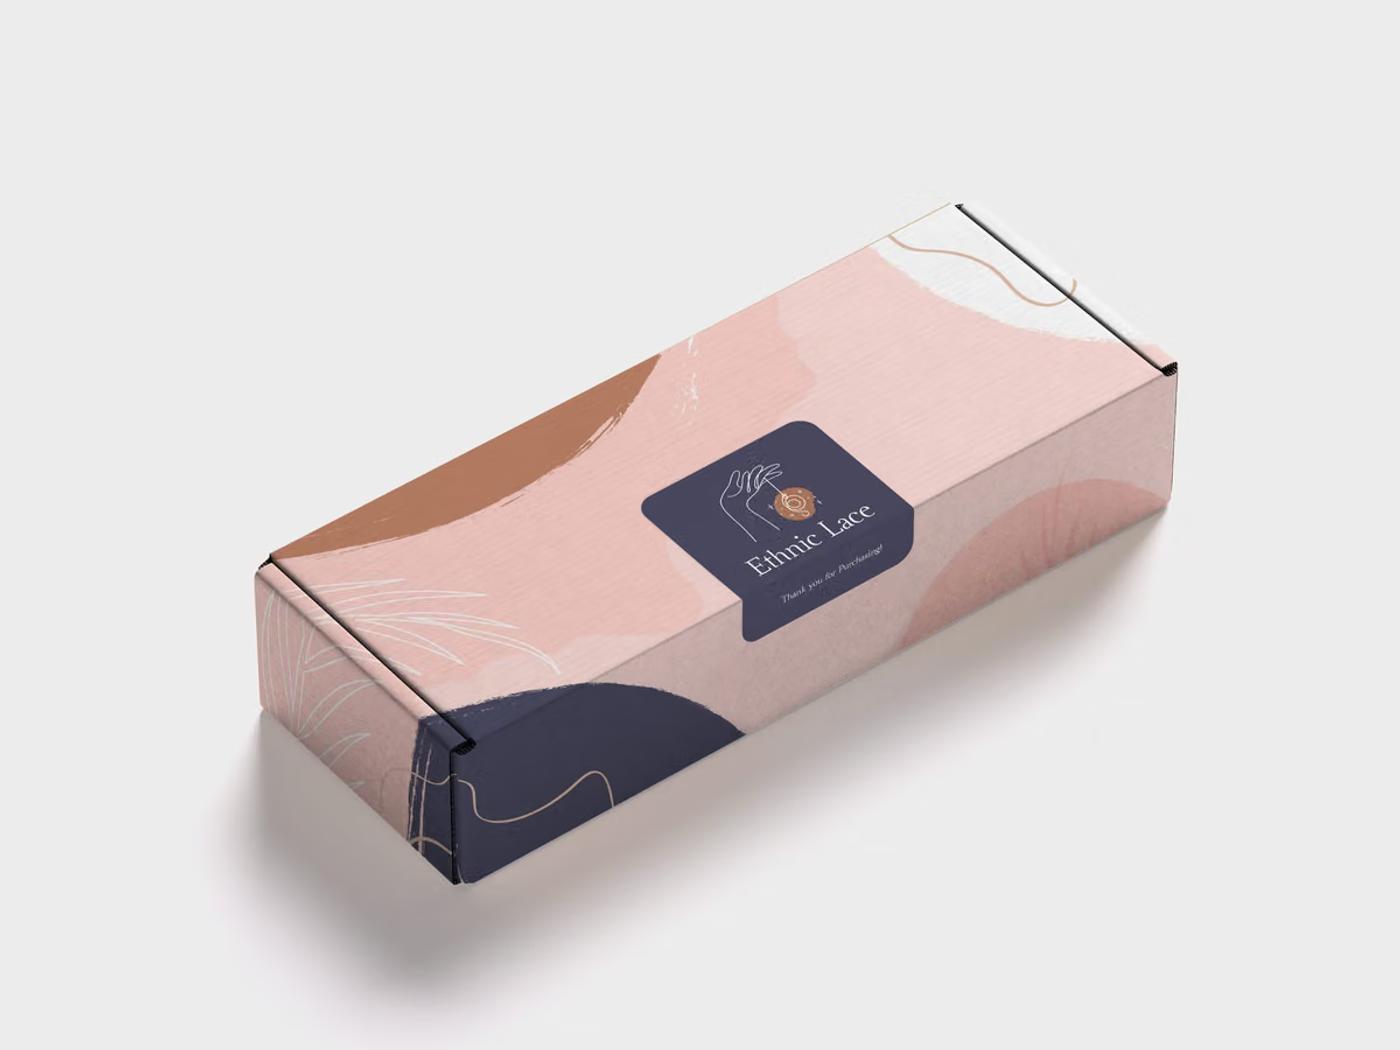
Think about who applies them. If your team puts stickers on boxes, bags, jars or takeout containers by hand, kiss-cut stickers on sheets or rolls are faster to work with, because the pieces are lined up and easy to lift. If the sticker is an extra for the customer to keep, such as a thank-you sticker tucked into an order, die-cut feels more like a gift. When stickers are part of a larger launch with inserts, cards or other printed pieces, our commercial printing team can quote everything together.
Sticker Sheets and Multi-Design Packs
Choose kiss-cut. Sheets let you group a set of designs, such as icons for a planner, a collection of characters for a kids' program or a mix of logos for an event kit, and hand the whole set over as one piece. Nothing gets lost, and people can pick the design they want.
Kiss-Cut Singles With Printed Space Around the Design
A kiss-cut single gives you a bit of extra real estate. The area around the sticker can carry your website, a QR code, your social handle or a short instruction such as "Peel and stick on any smooth surface."
Kiss-Cut Labels on Rolls and Why They Are Called Die-Cut
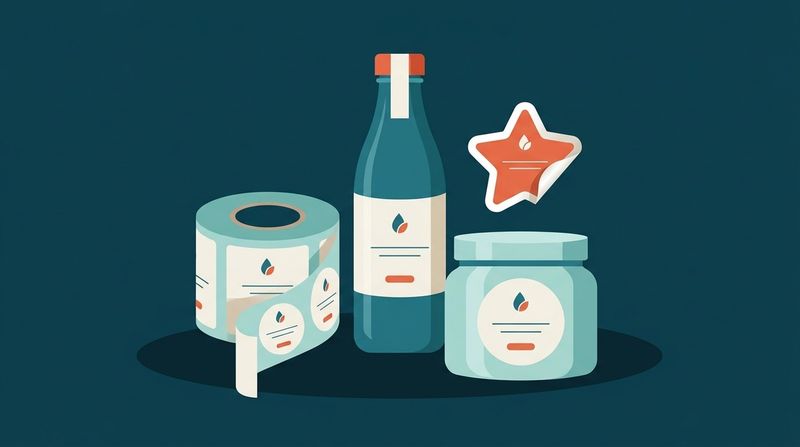
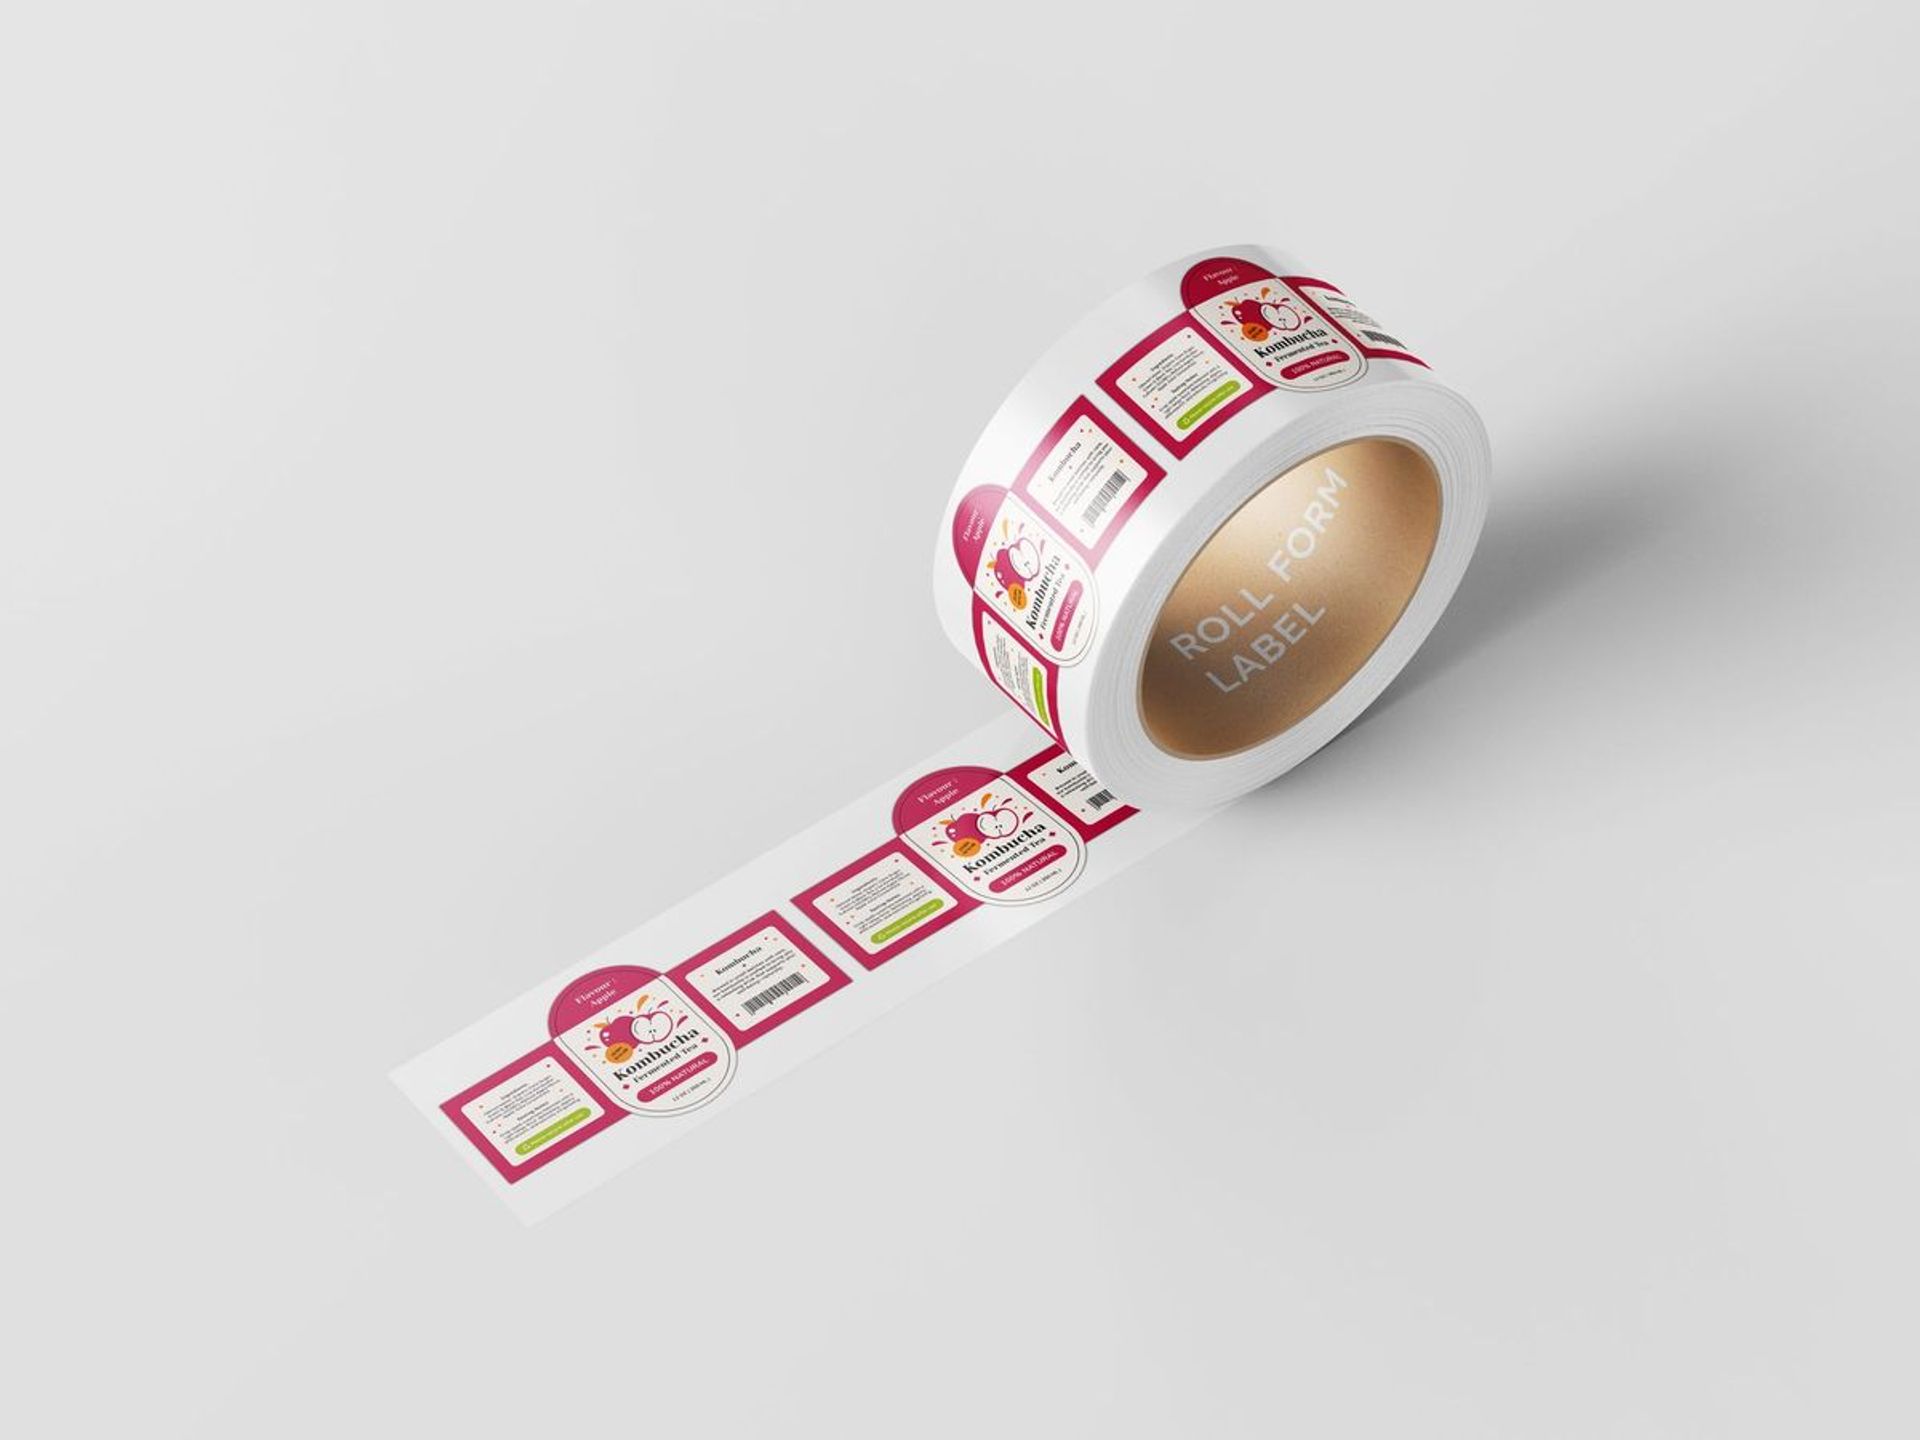
If you are ordering product labels on a roll, you will often see them described as die-cut labels. Technically, each one is kiss-cut. The blade cuts the label shape through the face material, the leftover material between labels (called the waste matrix) is peeled away, and the labels stay spaced along an uncut liner so they can be removed by hand or fed through a labelling machine. In the label world, "die-cut" describes the custom shape, not the depth of the cut.
So when you order, the most useful thing to tell us is the format (loose singles, sheets or roll labels) and how the stickers will be applied.
Setting Up Sticker Artwork for a Cut Line
Both cut styles follow a cut line, the path the blade traces around your design. Getting the file right is what keeps white slivers off the edges and keeps the blade out of your logo.
Cut Line, Bleed and Safe Zone
Draw the cut line as a single vector path on its own layer, separate from the artwork. Extend any background colour or image about 1/8 inch (3 mm) past the cut line. This extra area is called bleed, and it covers the small shift that happens in any cutting process. Keep text and important parts of the logo at least 1/8 inch (3 mm) inside the cut line, which is the safe zone. Images should be 300 ppi at the final printed size and set up in CMYK colour mode.
White Borders Around Die-Cut Shapes
A border between the artwork and the cut line gives a die-cut sticker a clean, simple outline, and it is the easiest fix for detailed shapes with spikes or gaps. Borders of around 1/16 to 1/8 inch (1.5 to 3 mm) are common. In Illustrator, the Offset Path command creates an even outline around your artwork that you can use as the border and cut line.
Supplying Your Own Sticker Design or Getting Help
You can send us print-ready artwork with the cut line already drawn, or send your logo and talk through the design with our team. Either way, tell us whether you want die-cut or kiss-cut, and our team can walk you through any file requirements.
Ordering Custom Stickers in Markham
We print stickers in small batches as well as larger runs, and finished orders are ready for pickup at our Markham shop or for delivery, depending on the arrangement. We reply to quote requests within one business day.
What to Include in a Sticker Quote Request
- Quantity, and how many different designs are in the order
- Finished size in inches, or the longest side if the shape is irregular
- Cut style and format: die-cut singles, kiss-cut singles, sheets or roll labels
- Finish (matte or gloss) and where the stickers will be used, indoors or outdoors
- Artwork status: print-ready, needs a cut line, or needs design help
- Your deadline
If the date is tight, say so up front. Rush printing is available for eligible jobs, and the more complete your request is, the faster we can confirm what is possible.